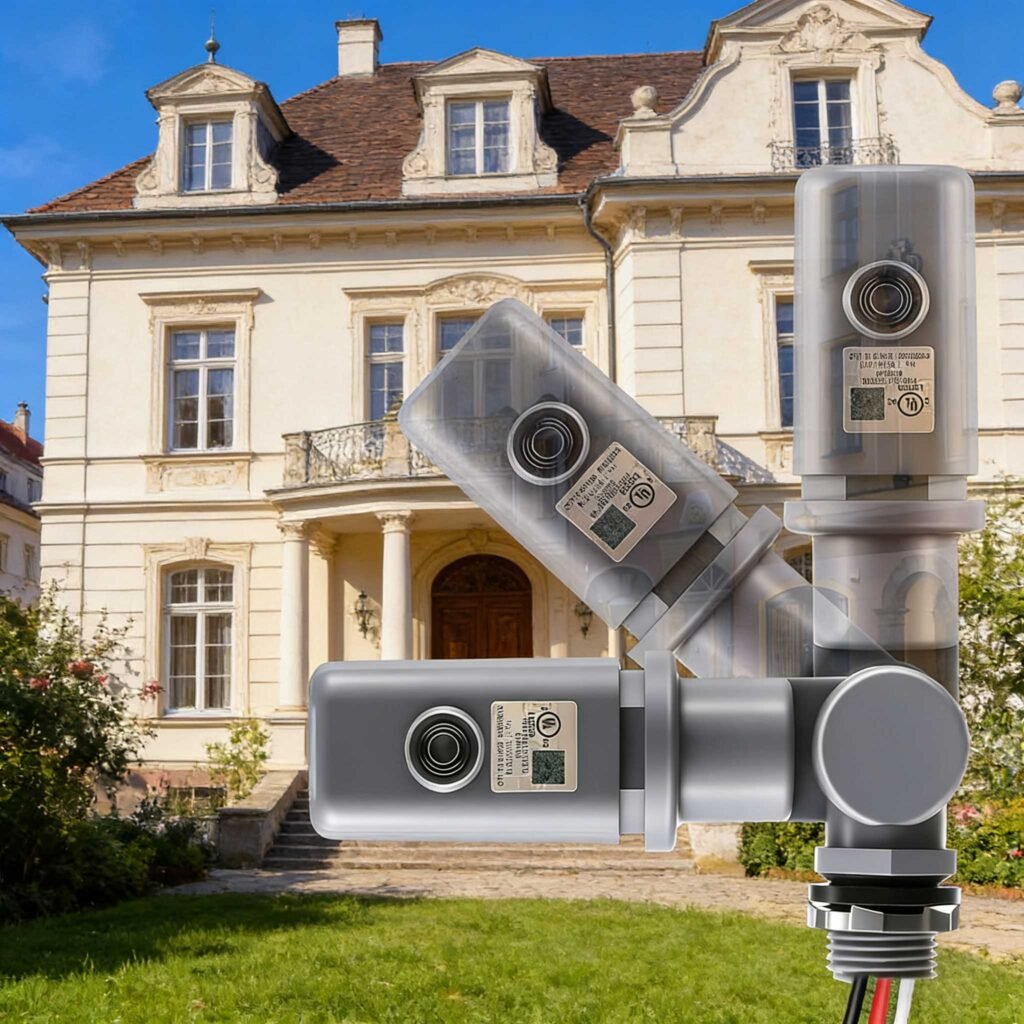
Датчики с фотоэлементами, также известные как датчики «от заката до рассвета», изменили способ управления надежным наружным освещением. Вместо того, чтобы полагаться на ручные переключатели или механические таймеры, эти интеллектуальные устройства автоматически включают свет в сумерках и выключают его на рассвете. Это не только экономит энергию, но и гарантирует, что общественные и частные пространства будут хорошо освещены, когда это необходимо. Однако правильная установка сама по себе не гарантирует работоспособность. Для получения стабильных результатов необходимо пройти этапы тестирования датчика после настройки. Тщательное тестирование позволяет избежать таких проблем, как мерцание, ложные срабатывания или ранние отказы, которые могут быстро стать дорогостоящими, если их не устранить.
В этом руководстве мы объясним, почему тестирование имеет такое значение, предоставим пошаговый подход к тестированию систем датчиков, работающих от заката до рассвета, обсудим распространенные проблемы и покажем, как выполнить тонкую настройку для оптимальной работы.
Почему важно тестировать датчик
Даже высококачественные устройства могут работать со сбоями, если их не протестировать должным образом. Окружающая среда играет огромную роль в работе устройства, поскольку окружающее освещение, качество проводки и чувствительность к освещённости влияют на реакцию датчика. Добавление этапа диагностики неисправностей фотоэлемента после установки обеспечит вам спокойствие и предотвратит ненужное обслуживание. Регулярное тестирование также помогает выявить ранний износ, внешние помехи, такие как скопление пыли или снега, а также проблемы с конкретными устройствами. Решив эти проблемы на этапе тестирования, вы продлите срок службы системы и сократите расходы на дорогостоящий ремонт в будущем.
Вот почему тестирование имеет решающее значение:
- Предотвращение мерцания
Неправильные настройки освещенности или несоответствие могут привести к мерцанию света, частому включению и выключению. Тестирование позволяет выявить эту проблему до того, как она станет помехой.
- Обеспечение безопасности
Уличное освещение, как правило, является частью общественной инфраструктуры, например, уличным освещением и парковками. Неисправный датчик может привести к появлению темных зон и создать угрозу безопасности. Тестирование гарантирует надежную работу системы в реальных условиях.
- Максимизация энергоэффективности
Датчик, который активируется слишком рано, тратит электроэнергию впустую, а тот, который отключается слишком поздно, создает пробелы в освещении, поэтому с помощью калибровки наружного освещения вы можете точно настроить производительность для максимальной экономии.
Короче говоря, тестирование фотоэлемента является связующим звеном между установкой и надежной эксплуатацией в реальных условиях.

Пошаговое руководство по тестированию датчика
Тестирование – это практический процесс, имитирующий смену дня и ночи, позволяющий вам подтвердить, как ваши датчик от заката до рассвета ведет себя, Ниже приведены рекомендуемые шаги по тестированию датчика:
Шаг 1: Закройте датчик, чтобы имитировать темноту
Возьмите темную ткань, картон или даже руку и накройте фотоэлементБлокируя свет, вы имитируете ночные условия. Датчик должен включить свет в течение запрограммированного времени задержки.
- Ожидаемый результат: Свет включается плавно, без задержек дольше, чем указано.
- Совет по устранению неисправностей: если датчик не включается, проверьте проводку и убедитесь, что датчик соответствует характеристикам вашего устройства.
Шаг 2: Наблюдайте за активацией света
После того, как вы закроете его, наблюдайте за включением индикатора. Это поможет убедиться в правильности подключения и в том, что датчик получает питание, поскольку плавная активация имеет здесь решающее значение:
- Если свет мерцает, возможно, необходимо провести диагностику датчика фотоэлемента и проверить соединения.
- Если реакции нет, убедитесь в совместимости датчика и устройства.
Этот этап также является ранней формой калибровки наружного освещения, подтверждающей работоспособность датчика.
Шаг 3: Снимите крышку и убедитесь, что устройство выключено.
Через несколько секунд снимите крышку, свет должен погаснуть, как только на датчик попадет естественный свет:
- Ожидаемый результат: чистое закрытие без задержек.
- Цель: убедиться, что ваш датчик правильно реагирует на окружающий свет.
Если отключение не происходит вовремя или не происходит вообще, пересмотрите настройки уровня освещенности.
Шаг 4: При необходимости отрегулируйте чувствительность Lux.
Lux показывает, насколько чувствителен фотоэлемент к яркости. Если свет включается слишком рано или слишком поздно, когда уже темно, отрегулируйте пороговое значение освещённости:
- Большинство датчиков имеют винтовую или цифровую настройку для регулировки уровня освещенности.
- Тонкая настройка гарантирует, что свет реагирует на реальные условия освещения.
Правильная калибровка наружного освещения гарантирует, что ваш датчик обеспечит баланс между безопасностью и энергоэффективностью.
Шаг 5: Точная настройка задержки времени
Задержка времени предотвращает ложные переключения, вызванные кратковременными изменениями освещенности, такими как свет фар, тени или проплывающие облака:
- Рекомендуемая задержка: 3–10 секунд.
- Слишком короткий = мерцание.
- Слишком долго = задержка активации.
Этот последний этап настройки стабилизирует работу и предотвращает ложные срабатывания. Правильные задержки обеспечивают отзывчивость и надежность вашей наружной системы.
Распространенные проблемы во время тестирования и способы их устранения
Даже при аккуратной установке вы можете столкнуться с проблемами. Вот наиболее частые из них и их решения:
- Свет не включается/выключается: проверьте подключение проводки, источник питания и тип датчика.
- Мерцание: отрегулируйте ориентацию или задержку времени, чтобы предотвратить ложные срабатывания.
- Неправильная ориентация: Убедитесь, что датчик направлен в правильном направлении, в сторону от контролируемого им света.
| Проблема | Возможная причина | Решение |
| Свет не включается/выключается | Ошибка проводки или неправильный тип датчика | Проверьте источник питания, подключение проводки и совместимость датчиков. |
| Мерцание | Неправильное положение датчика или короткая задержка | Отрегулируйте ориентацию и увеличьте задержку, чтобы уменьшить ложные срабатывания. |
| Неправильная ориентация | Датчик направлен на собственный источник света | Переместите датчик подальше от контролируемого прибора. |
| Отложенное выключение | Люкс порог слишком высокий | Уменьшите настройку чувствительности к люксам. |
| Ранняя активация | Порог люкса слишком низкий | Увеличьте настройку люкса в соответствии с рекомендациями производителя. |
В этой таблице по устранению неисправностей упрощенно изложены наиболее распространенные проблемы, возникающие при поиске и устранении неисправностей датчиков фотоэлементов, и приведены действенные способы их устранения. Это краткий справочник для установщиков и даже домовладельцев, помогающий им быстро находить проблемы и применять правильные настройки без догадок. Следуя этим таблицам, вы сможете сократить время простоя и гарантировать, что ваша система освещения будет продолжать обеспечивать стабильную работу.

Заключение / призыв к действию
Проверка фотоэлемента сразу после установки — это не просто техническая формальность, а гарантия надёжного наружного освещения. Правильно протестированный датчик освещения от заката до рассвета:
- Предотвращает мерцание
- Точно реагирует на уровень освещенности
- Оптимизирует использование энергии
- Обеспечивает безопасность в общественных и частных пространствах
В Свинцовый-ТопНаши фотоэлементные датчики предварительно откалиброваны и оснащены регулируемыми настройками уровня освещенности и времени задержки, что упрощает тестирование. Независимо от того, устанавливаете ли вы освещение на городских улицах, парковках или в университетских дорожках, наши датчики упрощают этапы тестирования, сокращают потребность в обслуживании и способствуют долгосрочной экономии энергии.
Готовы обеспечить безупречную работу вашего наружного освещения? Обратитесь в Lead-Top за советом эксперта и высокопроизводительными датчиками, разработанными для простой установки, лёгкого тестирования и надёжной работы.
Ссылки: