Gaat uw buitenlamp op het verkeerde moment aan, blijft hij uit als het donker is, of knippert hij onvoorspelbaar? Zo ja, dan functioneert uw fotocelsensor mogelijk niet goed of helemaal niet.
Voordat u de sensor of het armatuur vervangt, is het verstandig om deze eerst te testen. Met een paar hulpmiddelen en een stapsgewijs proces kunt u vaststellen of uw buitenverlichtingssysteem naar behoren werkt of dat het probleem ergens anders ligt.
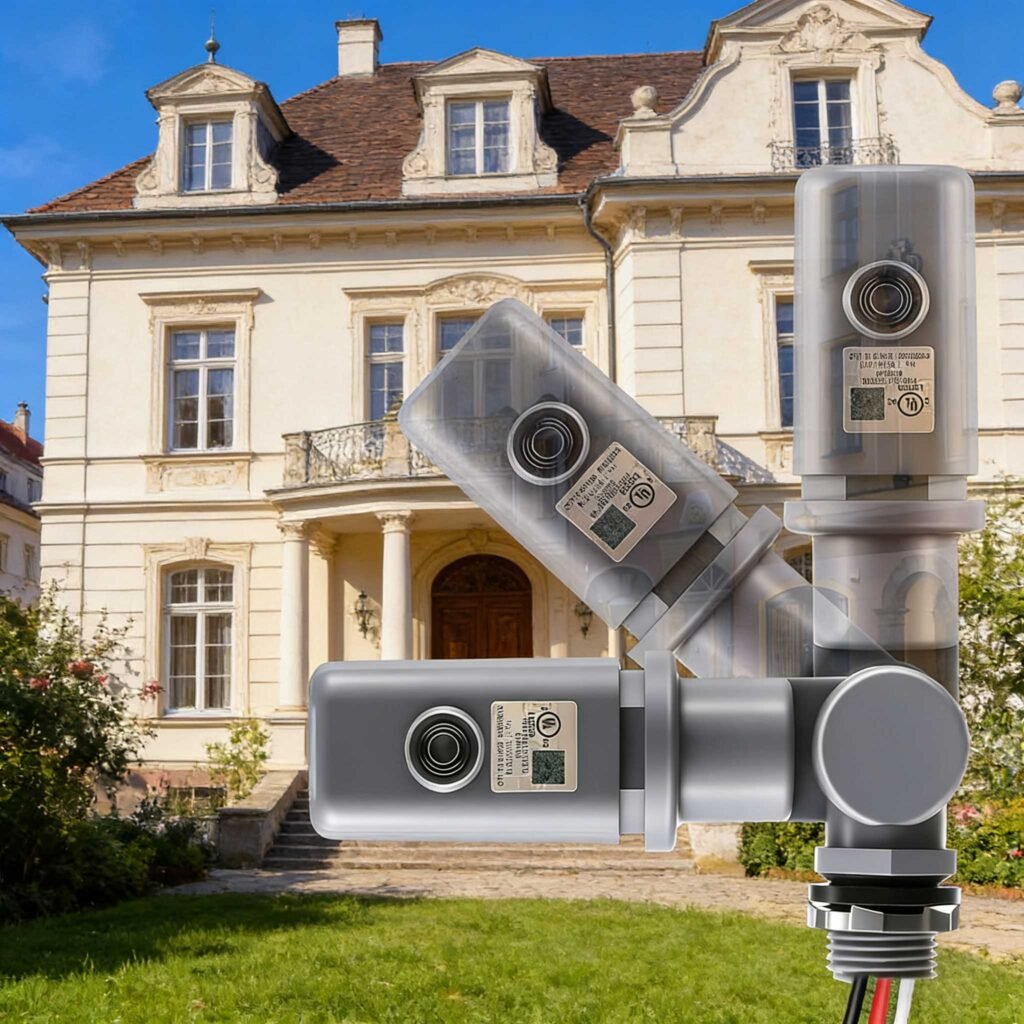
In deze complete gids van Lead-Top, een wereldleider op het gebied van fotocel-sensortechnologie, laten we u zien hoe u uw lichtsensor veilig en nauwkeurig test, ongeacht of het om een draad-in- of twist-lock-type gaat.
Wat u nodig hebt om de sensor te testen
Verzamel de volgende items voordat u begint:
- Een donkere doek, zwarte tape of karton (om duisternis te imiteren)
- Een optionele multimeter of spanningstester (voor diepere diagnostiek)
- Een ladder, als uw sensor hoog is gemonteerd
- Een helper (optioneel maar nuttig)
Het testen van een sensor is veilig en vereist geen professionele hulpmiddelen. Het enige wat u nodig hebt, is een beetje zorg en aandacht. Door de tijd te nemen om een snelle test uit te voeren, kunt u langdurige problemen met de verlichting voorkomen. Het helpt u ook te bepalen of uw sensor moet worden afgesteld of vervangen. Vooral bij grootschalige buitentoepassingen zorgt regelmatig testen voor betrouwbare verlichtingsprestaties.
Stap voor stap: een schemer-tot-dageraad fotocel testen
Laten we het volledige testproces doornemen. Of u nu problemen ondervindt met een armatuur in een woonhuis of met een LED-paalverlichting op een commercieel perceel, deze handleiding is van toepassing op de meeste sensortypen.
Deze handleiding helpt u bepalen of de sensor goed functioneert. Door regelmatig te testen, zorgt u ervoor dat uw verlichtingssysteem efficiënt werkt zonder onnodige uitvaltijd of energieverspilling.
Schakel het armatuur IN
Controleer voordat u gaat testen of de stroomonderbreker en de schakelaar van de lamp zijn ingeschakeld.
De sensor heeft stroom nodig om te reageren op veranderingen in lichtniveaus. Als het armatuur is uitgeschakeld, wordt de sensor niet geactiveerd, ongeacht de omstandigheden.
Daglichtcontrole
Observeer uw licht onder normale daglichtomstandigheden:
- Als de sensor goed functioneert, zou het lampje uit moeten blijven
- Als het licht overdag brandt, kan de fotocel:
- Beschadigd of vuil
- Verkeerd georiënteerd (gericht op een schaduwrijke plek of op de grond)
- Beïnvloed door kunstmatige schaduwen
In dergelijke gevallen kan het probleem worden opgelost door de sensor schoon te maken of te verplaatsen, zonder dat vervanging nodig is.

Duisternis simuleren
Om duisternis na te bootsen:
- Bedek de sensor met een donkere doek of ondoorzichtige tape.
- Wacht 10–30 seconden, afhankelijk van de ingebouwde vertraging van de sensor.
- Als het goed werkt, zou het lampje moeten gaan branden.
Deze eenvoudige truc werkt voor de meeste geïntegreerde sensoren, waaronder De LT134 van Lead-Top En LT154die over voorgeprogrammeerde vertragingsfuncties beschikken om valse triggers te voorkomen.

Simuleer daglicht
Maak nu de sensor open en zorg dat er direct licht op valt:
- Na een paar seconden, afhankelijk van de ingestelde vertraging, zou het licht uit moeten gaan.
- Als het lampje blijft branden, kan het zijn dat de sensor vastzit in de AAN-modus of dat er sprake is van een interne storing.
Dit is een snelle manier om te controleren of uw automatische lichtsensor nauwkeurig reageert op veranderingen in het omgevingslicht.
Gebruik een multimeter (voor modellen met inbouwaansluiting zoals de LT210)
Voor gevorderde gebruikers of technici die fotocellen met bedrading testen:
- Koppel de belastingsdraad los (meestal rood)
- Zet uw multimeter op continuïteit of weerstandsmodus
- Test tussen de rode (belasting) en witte (neutrale) draden:
| Lichtomstandigheden | Verwachte leestijd |
| Gesimuleerde nacht | Gesloten circuit (AAN) |
| Gesimuleerde dag | Open circuit (UIT) |
Als de metingen niet veranderen zoals verwacht, is het sensorrelais mogelijk defect.
Voordelen van lood-toptesten
Als het om prestaties gaat, Lood-boven fotocel Sensoren zijn ontworpen om eenvoudig te testen, installeren en vertrouwen te bieden. Elk model beschikt over een nauwkeurige luxkalibratie en robuuste interne componenten die ontworpen zijn om valspositieve resultaten, flikkering of vertraagde reacties te elimineren.
| Model | Type | Spanning | Functies |
| LT134 | Draaivergrendeling | 120–277V | Vooraf gekalibreerde lux, nuldoorgang, 8A LED, IP66 |
| LT154 | Zwaar uitgevoerd | 120–277V | 20 kV overspanningsbeveiliging, Fail Mode AAN, programmeerbare vertraging, anti-flicker ontwerp |
| LT210 | Bedrading | 120–277V | Compact thermisch relais, 1000–2000W LED-vermogen, snelle omschakeling |
Extra voordelen van Lead-Top-sensoren
- Vooraf ingestelde gevoeligheid: Alle sensoren zijn fabrieksmatig gekalibreerd op 10–16 Lux AAN / 50–65 Lux UIT
- Ingebouwde vertragingslogica: 3–10 seconden responstijd voorkomt flikkering door kortstondige schaduwen
- Fail-Safe AAN-modus: Houdt de lichten AAN als de sensor ooit uitvalt
- IP66/IP67 afgedicht: Ontworpen voor ruige omgevingen
- LED-compatibiliteit: Ondersteunt moderne LED-driverbelastingen met een hoge inschakeltolerantie
Veelvoorkomende problemen die u kunt identificeren met testen
Met de juiste tests kunt u de volgende problemen diagnosticeren:
| Probleem | Waarschijnlijke oorzaak | Oplossing |
| Het licht blijft AAN bij daglicht | Vuile of verkeerd georiënteerde sensor | Schoonmaken of herpositioneren |
| Het licht blijft 's nachts UIT | Sensor gericht op kunstlicht of defect relais | Sensor opnieuw positioneren of vervangen |
| Licht flikkert 's nachts | Onderbroken stroomvoorziening, sensor van lage kwaliteit of vertragingsprobleem | Gebruik een sensor met vertraging (bijv. LT154) |
| Geen verandering in multimeter | Probleem met relais of bedrading | Controleer de bedrading of vervang de unit |
Het testen van fotocellen is vooral belangrijk op locaties waar verlichting van cruciaal belang is:
- Straat- en snelwegverlichting: Voorkom stroomuitval of onbedoelde bediening overdag
- Parkeerplaatsen en garages: Zorg voor veilig zicht in het donker
- Reclameborden en bewegwijzering: Voorkom verspilling van energie door altijd-aan verlichting
- Pad- en parkverlichting: Verbeter de openbare veiligheid
- Campus- en faciliteitenverlichting: Houd de onderhoudskosten laag door vroegtijdige probleemdetectie
Waarom kiezen voor fotocellen met een loodtoplaag?
Bij Lead-Top leveren we niet alleen onderdelen, maar leveren we nauwkeurige lichtregeling ondersteund door:
- Internationale certificeringen: UL, CE, CB, Zhaga Boek 18
- Maatwerkoplossingen: Voltage, lux-bereik, logo en behuizing met een minimale bestelhoeveelheid van nul
- Snelle levering: 500–1000 stuks in 7 werkdagen
- Laboratoriumtesten: IP66/IP67, overspannings-, zoutnevel-, verouderings-, UV- en thermische tests
Of u nu een gemeentelijke aannemer of facility manager bent, Lead-Top biedt oplossingen voor schemering-tot-zonsopgangcontrole die direct uit de doos werken en op locatie kunnen worden getest en onderhouden.
Voor het testen van uw schemer-tot-zonsopgang-lichtsensor hebt u geen speciaal gereedschap nodig, alleen een methodische aanpak en een paar alledaagse benodigdheden. Door deze handleiding te volgen, kunt u controleren of de sensor goed werkt en kunt u beslissen of u hem moet schoonmaken, aanpassen of vervangen.
Als u kiest voor de betrouwbare modellen van Lead-Top, investeert u in een oplossing die nauwkeurig en eenvoudig te onderhouden is, waardoor uw buitenverlichting energiezuiniger wordt.
Referenties