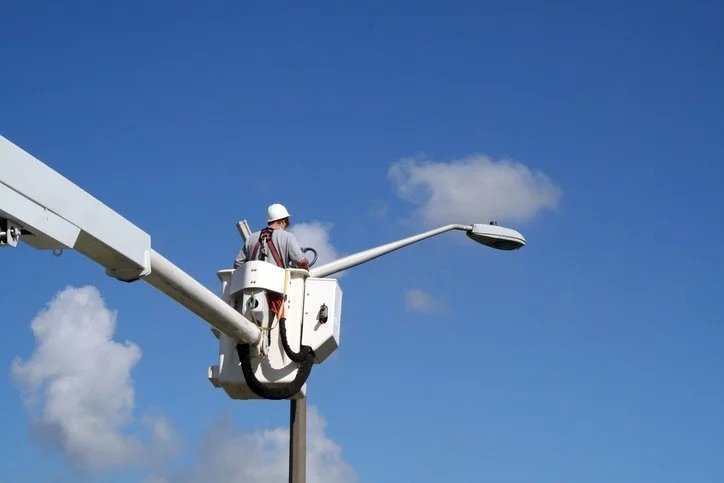
Although quality photocell sensors undergo rigorous testing for high performance. These are mostly reliable and meant to provide consistent performance for years to come, but they can still encounter problems due to tough outdoor conditions and wear as time goes by. While they can be fixed most of the time, at some point, you don’t have an option but to replace them with a smarter alternative or a newer version.
When your streetlight or outdoor LED light with photocell doesn’t automatically go off even when ambient light is enough, or it doesn’t turn on automatically during the dark, it’s probably time to get a new photocell. Replacing it is easier than you might think, and follows a few simple steps. Especially with Lead-Top’s twist-lock and wire-in photocell solutions designed for long-term performance, it’s even easier.
Here’s a quick, professional guide to replacing your photocell sensor safely and effectively.
How to Replace a Photocell Sensor? A Step-by-Step Guide
Before getting to the details of the steps involved in the process, we’d better have a look at what tools and instruments you’ll need for replacing a photocell sensor. Here’s a list of handy equipment:
- Replacement i.e., Lead-Top photocell (Twist-lock or wire-in)
- Screwdriver/pliers
- Voltage tester
- Ladder (if needed)
- Safety gloves

1. Cut the Power
Before you start, make sure you’ve turned off the power. Cut it at the main breaker and use a voltage tester to be sure that there is no power at all. This is to ensure your safety as the foremost priority.
2. Identify the Sensor Type
First of all, you’ll need to clearly identify what type of sensor you are going to replace. This is because different types have different locations on the pole, and you’d need to approach them accordingly for the replacement. Here are the two types you should be looking at typically:
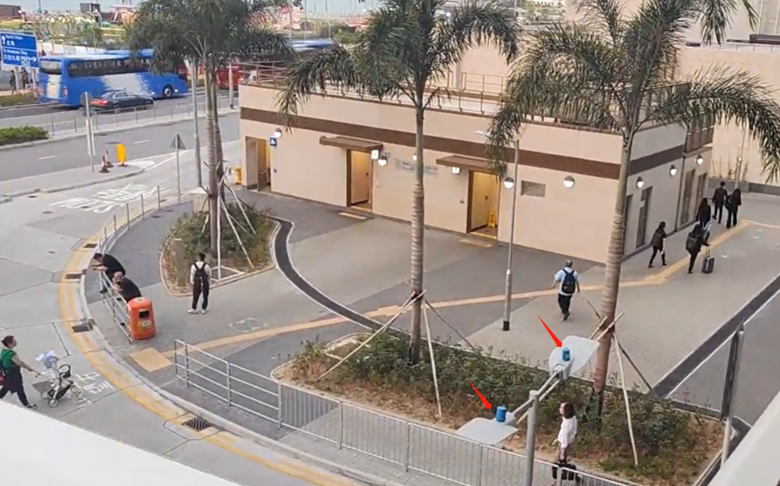
- Twist-lock (NEMA 3/5/7 pin): This type of light sensor switch is located on top of the light fixture. This means it is relatively easily accessible and hence replacement will be comparatively easier and quicker.
- Wire-in: Housed inside the fixture or pole base: While these sensors are more protected from outdoor harsh conditions, they might take comparatively longer to be replaced as you’ll need to open the light fixture to access them.

3. Remove the Old Unit
Once you know which type of sensor you are dealing with, you need to understand how to remove the particular type. Here’s how each one of them is removed:
- If you are trying to remove a twist-lock light sensor fitted on top of the light fixture, simply rotate it in the anticlockwise direction and it will be removed.
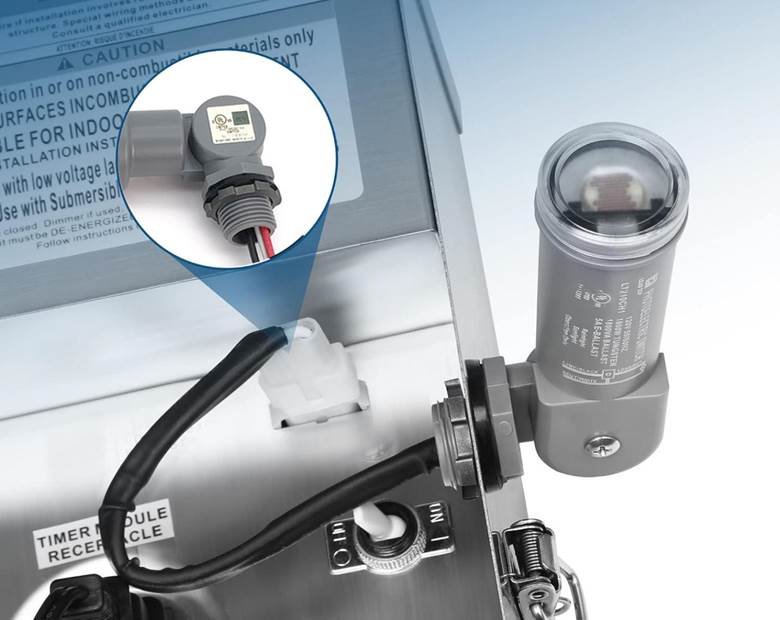
- For the wire-in photocontrollers, they are typically fitted inside the enclosure and to remove them, you’ll need to disconnect the line, load and neutral wires and then unscrew the controller using a screw diver to finally remove it from the fixture.
4. Install the New Photocell Sensor
Once you have safely removed the old unit, you can now install a new one. Here again, the process will differ according to the type of photocell sensor you are trying to fix. Moreover, the first and foremost step is to make sure you’ve correctly matched the voltage (120V / 277V / 480V) and load type (LED/HID). Once you are sure about the voltage and load type, here is how you can install the new sensor;
- For the wire-in controllers, connect the fires as follows:
Black = Line (from the power source)
Red = Load (to the light fixture)+
White = Neutral
Fix the wires neatly into the fixture and use wire nuts for a secure connection.
- For twist-lock sensors, you need to make sure that the sensor’s pins are perfectly aligned with the notches on the socket. Once you are sure, push down the sensor a bit and rotate it clockwise until you hear a click, and you are done.
5. Secure Everything
After installing the new dusk to dawn photocell sensor, it is very important to make sure that everything is sealed in and sitting properly so that dust, moisture, humidity, and pollutants have no chance of ingress.
- For the wire-in photocells, make sure you have screwed in the cover tightly so that the housing is safely sealed.
- For twist-lock photocells, ensure that the sensor is tightly seated on the socket and it isn’t loose so that the connection is secured neatly.
Also, make sure the wiring is done neatly, or it can cause short circuits or other malfunctions.
6. Test Your Work
Once you are all done replacing the older units with the new ones, it’s time to make sure you’ve done a good job. To find out if it turned out right, restore the power and then simulate low ambient light by covering the photocell. You can do so by using something like a cardboard or just covering the sensor with your hand to block the light. The light should turn on after a short interval if you’ve done it right. Once you let the light in again, the lights should go off automatically.
Why Use Lead Top-Photocells?

With over 5 million units shipped globally each year, Lead-Top photocells are engineered for literally everything, ranging from municipal-level street lighting to commercial and smart city outdoor lighting.
| Model | Type | Voltage | Key Features |
| LT124 | Twist-lock | 120–277V | 10–16 Lux ON, cost-effective |
| LT134 | Long-life | 120–277V | Surge 20kV, zero-crossing, LED 8A |
| LT154 | Heavy-duty | 120–277V | 10-year warranty, high inrush protection |
| LT154E | High-voltage | 347–480V | Programmable, Fail Mode ON |
Lead-Top Factory Advantages
- Fast production: 500–1000 pcs in just 7 working days
- Full customization: Shell color, logo, lux threshold, voltage
- Global certifications: UL, CE, CB, Zhaga Book 18
- Lab-tested for IP67, salt spray, UV, surge, aging
Ready to Replace Your Photocell?
Irrespective of what projects you are dealing with, Lead-Top’s provides certified photocells for literally everything, ranging from urban smart city lighting to municipal level lighting, or even for landscape lighting for residential and commercial areas. These units are easy to install, built to last, and backed by one of the most responsive teams in the industry.
Need help choosing the right model or NEMA type?
Let’s get it right the first time.
References
- https://www.google.com/url?sa=t&rct=j&q=&esrc=s&source=web&cd=&cad=rja&uact=8&ved=2ahUKEwjYs_z5upuOAxVVAvsDHVKkI_4QFnoECDkQAQ&url=https%3A%2F%2Fwww.sciencedirect.com%2Ftopics%2Fengineering%2Fphotocell&usg=AOvVaw2DHEw1pMrqC6XjkoQKq-49&opi=89978449
- https://leaditop.com/product-category/product/wire-in-controllers
- https://leaditop.com/twist-lock-photocontrollers/
- https://www.google.com/url?sa=t&rct=j&q=&esrc=s&source=web&cd=&cad=rja&uact=8&ved=2ahUKEwiwkMfvu5uOAxVnXaQEHQnXIF4QFnoECDwQAQ&url=https%3A%2F%2Fhome.howstuffworks.com%2Fvoltage-tester.htm&usg=AOvVaw01XpOaNDqYgB__9RLbUxB6&opi=89978449