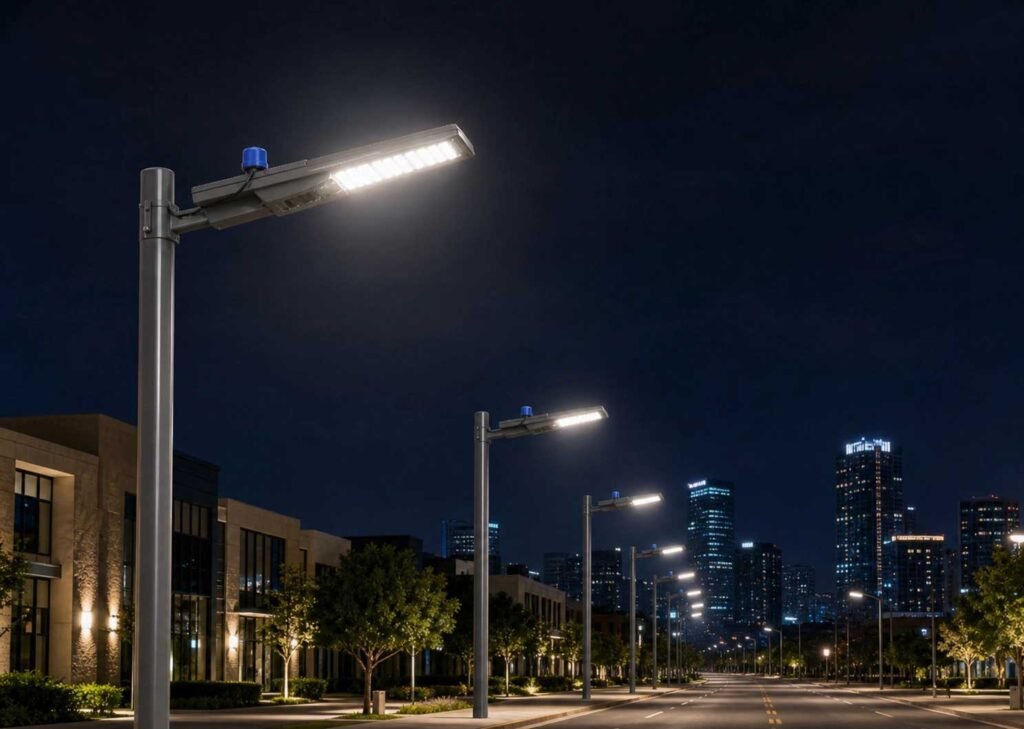
Installing a photocell sensor, also known as a dusk-to-dawn sensor, might seem simple at first glance, however, the process requires precision, safety awareness, and the right equipment to make sure of long-term success, photocell sensors are broadly used in outdoor lighting to automatically turn lights on at dusk and off at dawn. From streetlight wiring equipment to waterproof sealing, each step requires attention to detail.
In this guide, we’ll cover why proper tools matter, outline the tools for photocell installation every electrician or DIY installer should have, and explore optional tools for larger projects such as city-wide systems.
Why Proper Tools Ensure Safety and Accuracy
When working with electricity, safety is non-negotiable, photocell installation involves cutting, stripping, splicing, and sealing wires, often in outdoor environments where exposure to rain, dust, or heat is common and using the correct dusk-to-dawn sensor setup tools not only protects you from electrical hazards but also makes sure that the sensor is positioned correctly and functions as intended, If the wrong tools are used, you risk:
• Loose or weak connections: leading to flickering or complete sensor failure.
• Electrical hazards: including shocks, shorts, or even fires.
• Water intrusion: which can corrode the sensor and wiring.
• Frequent maintenance: poorly installed sensors may require constant adjustments.
By using proper equipment, you achieve accurate wiring, reliable positioning, and long-term durability for your LED sensor setup. Ultimately, the right tools protect both the installer and the investment.
Core Tools for Any Photocell Installation
No matter the project’s size, certain tools are absolutely essential. Every installer, whether a professional electrician or a hands-on property manager, should keep these at the ready:
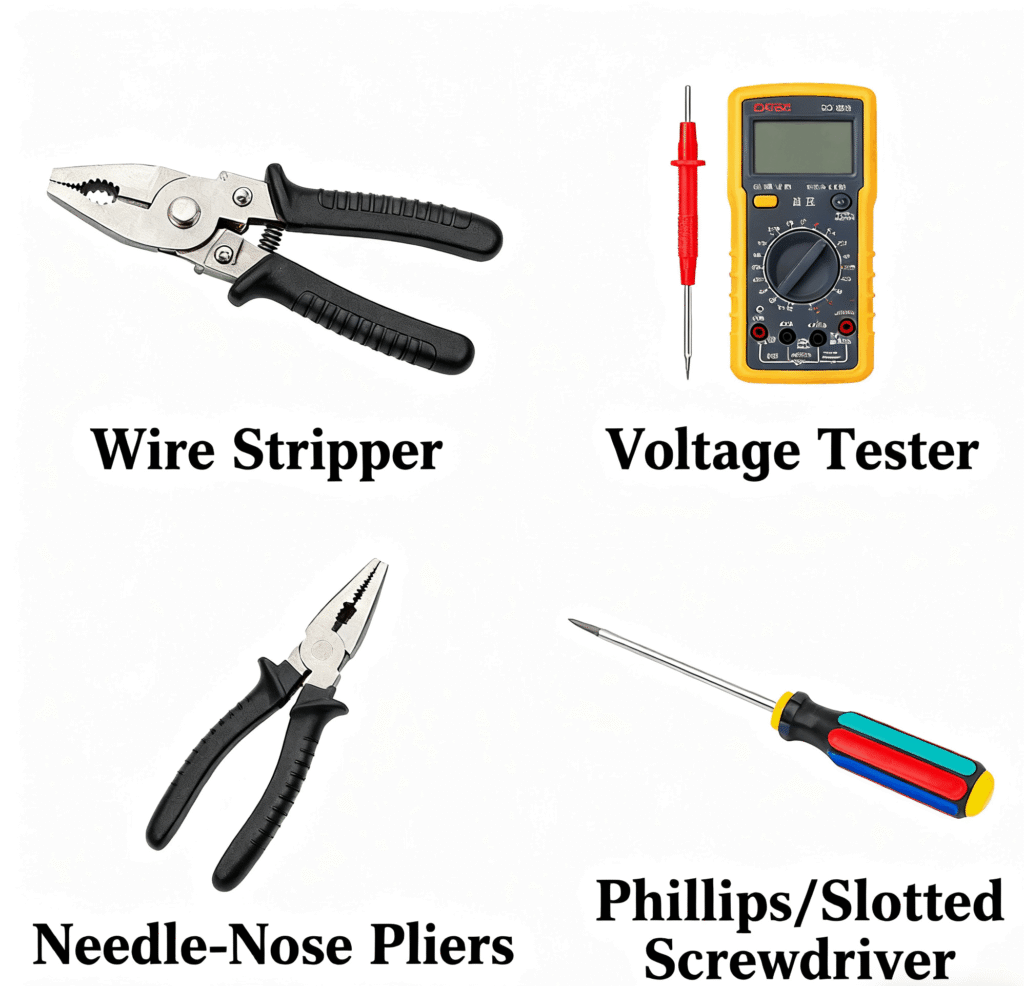
- Voltage Tester
Before you touch any wires, confirm that the circuit is off and a voltage tester is your first line of defense against accidental shocks, always test wires before cutting or splicing
- Wire Strippers
Insulation should be removed neatly without damaging copper while exposing it, wire strippers make sure of clean cuts that make splicing secure and safe
- Needle-Nose Pliers
Perfect for twisting wires together, pulling wires through tight conduits, and handling small components, They are for sure handy when working on compact fixtures
- Screwdrivers (Flathead and Phillips)
Important for detaching light fixture covers, altering mounting brackets, or tightening small screws that secure terminals and carrying both types makes sure you’re prepared for any screw head
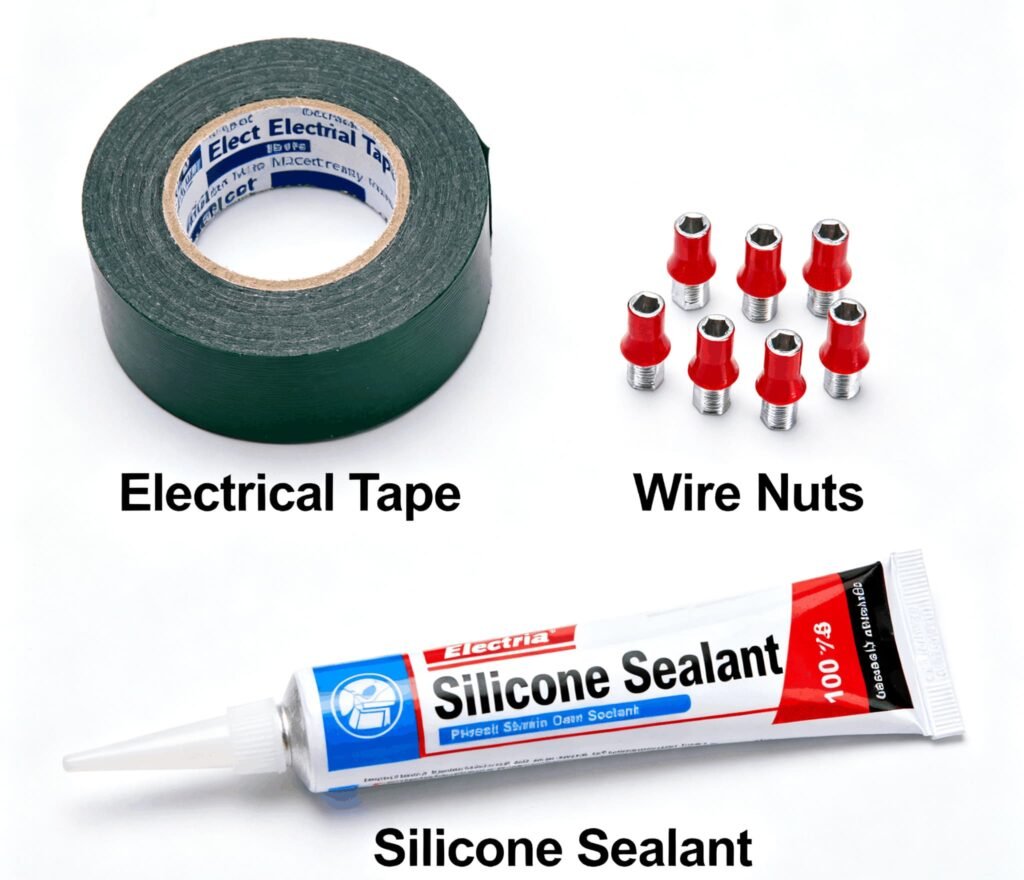
- Electrical Tape & Wire Nuts
Once wires are connected, they must be secured and insulated also, wire nuts are important for splicing wires safely, and electrical tape adds an extra layer of protection against moisture and movement.
- Silicone Sealant
Outdoor environments want waterproofing, Silicone sealant makes sure no water seeps into your wiring, protecting the sensor and extending its lifespan
Together, these tools for photocell installation make the process smoother and more reliable.
Optional Tools for Large Projects
For large-scale jobs like citywide streetlight wiring equipment setups, commercial campuses, or industrial facilities, basic tools might not be enough. Advanced tools increase efficiency and precision, especially when dealing with hundreds of fixtures.
- Multimeter
Unlike a simple voltage tester, a multimeter measures voltage, resistance, and current flow, this is important when diagnosing faulty wiring or confirming that your photocell is responding correctly during calibration - Clamp Meter
Perfect for live testing without disconnecting wires. Clamp meters allow you to measure current flow in multiple fixtures, saving time during large installations. - Cable Management Accessories
Zip ties, conduits, and mounting clips keep wiring neat, organized, and protected, this lessens strain on connections and increases the life of your system
For professionals, these dusk-to-dawn sensor setup tools mean faster installations, fewer mistakes, and less downtime during maintenance.
Safety Tips While Using Tools
Having the right tools is only half the battle and using them safely confirms that you not only protect yourself but also guarantee a stable and reliable installation, Here are some must-follow practices for outdoor lighting installation:
- Turn Off the Breaker
Always shut off the breaker before working, never assume the wires are dead just because the light is off
- Confirm Power is Off
Before handling wires, use your voltage tester to check that no electricity is flowing
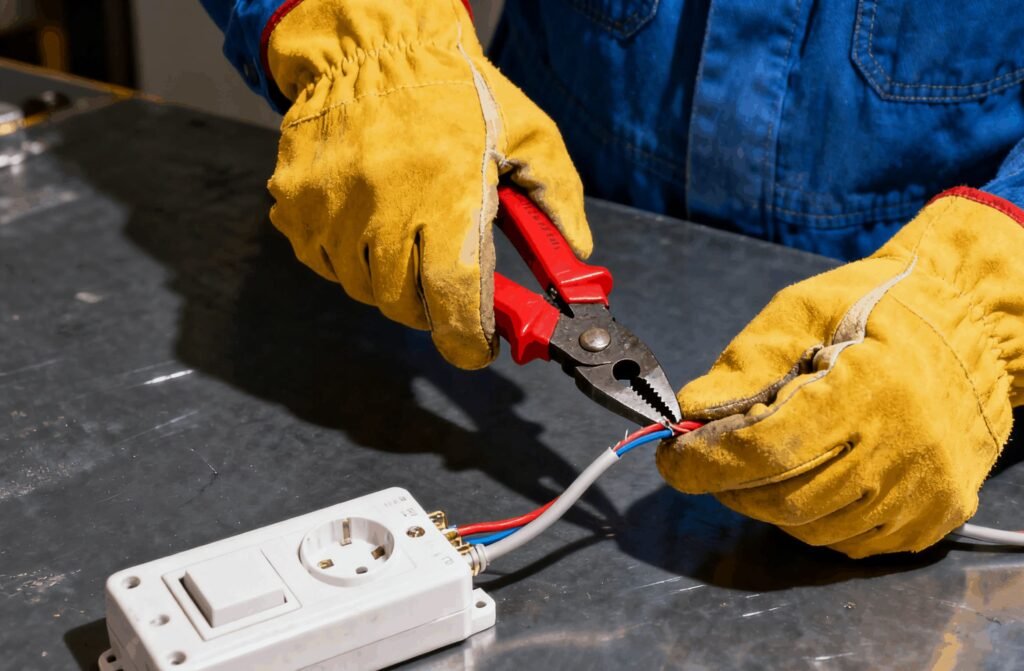
- Wear Protective Equipment
Gloves, insulated tools, and safety glasses minimize the risk of electrical shocks or injuries
- Work Methodically
Document your wiring layout before and after installation, this makes troubleshooting easier later and helps during future maintenance
- Plan for Weatherproofing
Since photocells are exposed to the elements, double-check seals and use waterproofing materials to avoid corrosion or shorts

Safety combined with proper LED sensor setup techniques ensures that your installation lasts for years without costly repairs.
Table: Core vs. Optional Tools for Photocell Installation
| Tool Type | Purpose | Project Scope |
| Voltage Tester | Confirms power is off to prevent electrical shock | Essential for all projects |
| Wire Strippers | Cleanly removes insulation for proper splicing | Essential for all projects |
| Needle-Nose Pliers | Twists wires and handles small components | Essential for all projects |
| Screwdrivers (Flat/Phillips) | Opens fixtures, adjusts brackets, and secures screws | Essential for all projects |
| Electrical Tape & Wire Nuts | Secures and insulates spliced wires | Essential for all projects |
| Silicone Sealant | Waterproofs and protects external wiring | Essential for all projects |
| Multimeter | Measures voltage, resistance, and current for accurate calibration | Optional, best for large installations |
| Clamp Meter | Tests current without disconnecting wires | Optional, best for professional jobs |
| Cable Management Tools | Organizes and protects wiring with ties, conduits, and clips | Optional, ideal for citywide projects |
This table highlights the distinction between everyday tools for photocell installation and advanced equipment used in commercial-scale projects.
Conclusion / CTA
In the world of outdoor lighting installation, the difference between a reliable dusk-to-dawn sensor and one prone to failure mostly comes down to the tools used during setup, from basic stuff like wire strippers and voltage testers to advanced instruments such as multimeters and clamp meters, each tool plays an important role in ensuring safety, efficiency, and accuracy.
At Lead-Top, we understand the challenges installers face. That’s why we offer pre-wired, pre-calibrated photocells designed to reduce tool requirements, simplify installation, and guarantee high performance, Whether you’re managing a single LED sensor setup or overseeing large-scale streetlight wiring equipment projects, our products are built to save time and reduce maintenance.
Ready to simplify your dusk-to-dawn sensor setup? contact Lead-Top today to explore our full range of high-performance sensors for faster, safer, and more reliable installations.
References: