Outdoor lighting has become an important part of modern infrastructure so to keep these systems efficient and dependable, photocell sensors, known as dusk-to-dawn sensors, are used, these small yet powerful devices automatically control lights by detecting changes in surrounding light, most overlooked factor that determines whether the sensor works properly: photocell sensor placement.
Improper placement can result in lights that stay on during the day, flicker unnecessarily, or fail to activate when they should, proper placement ensures lighting systems perform optimally, offering safety, energy savings, and reliability. This article explores why sensor positioning is so critical, the common mistakes installers make, best practices for placement, and a practical example of how to get it right.
How Placement Affects Sensor Accuracy
The performance of a dusk-to-dawn sensor location is related to how it “reads” surrounding light conditions, Sensors use a photocell to measure surrounding light levels, and this reading determines when the connected light fixtures turn on or off. When the sensor is poorly placed, it may interpret light conditions incorrectly, causing lights to operate at the wrong times.

When positioned correctly, the sensor measures only true natural light levels, turning on when it gets dark and off when daylight is sufficient.
Correct placement ensures:
- Lighting activates only when necessary, saving energy.
- Consistent illumination improves visibility and safety.
- Fixtures avoid excessive wear from unnecessary switching.
In short, photocell sensor placement bridges the gap between reliable design and real-world performance.
Common Placement Mistakes
While photocell technology is straightforward, many installations fail because of simple yet avoidable mistakes, below are some of the most common issues that lead to unreliable performance:
1. Facing Direct Artificial Light
One of the biggest errors in placement is allowing the sensor to face directly into the light source it controls. This creates a “feedback loop” where the sensor turns the light off after detecting it, then back on when it senses darkness again, causing rapid flickering. Many installers encounter complaints about this problem, but the root cause is often poor dusk-to-dawn sensor location.
2. Mounting Too Low or Too High
Mounting height plays an important role, a sensor that is mounted too low may be obstructed by moving cars, shrubs, or signage, these shadows trick the sensor into thinking daylight levels have changed, on the other hand, a sensor mounted excessively high might fail to detect ambient light accurately, especially in cloudy conditions, reducing sensitivity and responsiveness.
3. Poor Angle Adjustment
Even if the sensor is at the correct height, improper tilt or orientation can cause issues, and if angled toward reflective surfaces like glass, metal, or white walls, it may pick up false readings, and worse, if the angle directs the sensor toward the fixture’s own light, it will create constant on/off cycles.
4. Ignoring Environmental Factors
Weather elements such as snow or accumulated dust can interfere with performance. Sensors installed without protective shielding are more prone to lower accuracy and more failures.
5. Cluttered Installations
Placing sensors too close to decorative lighting or nearby buildings mostly leads to interference. A sensor must have a clear line of sight to the natural sky for great performance.
By avoiding these mistakes, installers can reduce complaints of flickering, false switching, and uneven lighting coverage.
Best Practices for Photocell Placement
To maximize the effectiveness of photocell sensors, installers must follow a few proven best practices:
1. Ideal Height and Direction
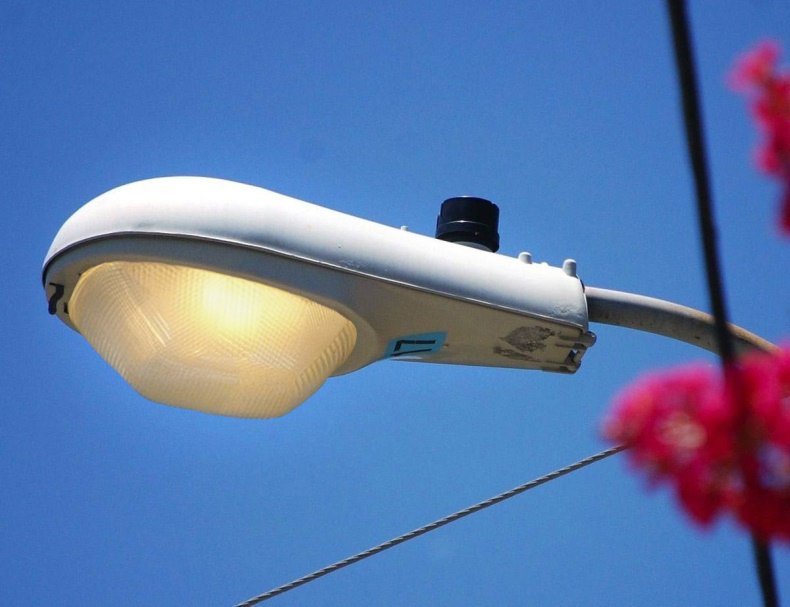
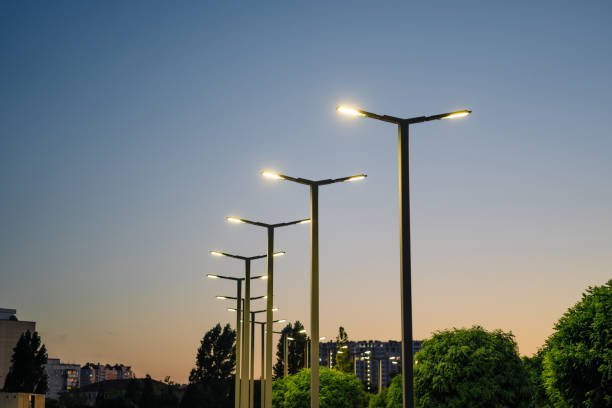
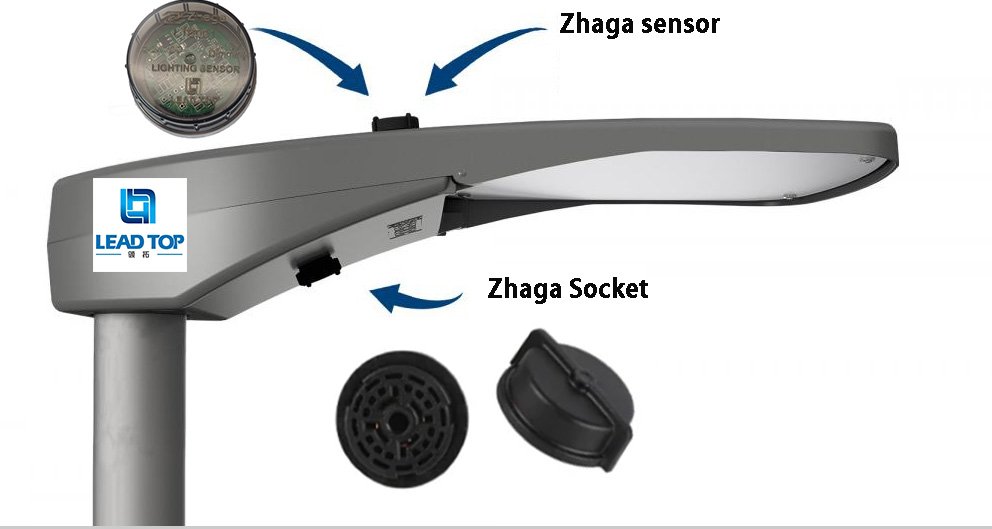
- For streetlights, photocell sensors are placed at the top of the pole, toward open sky away from surrounding light sources.
- In parking lots, slight angular adjustments are often needed to prevent interference from nearby building lights or vehicle headlights.
- Pathway or campus installations should position sensors at a height where landscaping, trees, or pedestrian movement won’t block the field of vision.
2. Distance from Other Light Sources
Sensors should never be installed near illuminated signage or reflective glass surfaces. Maintaining adequate spacing ensures accurate readings of true daylight.
3. Use of Shields or Hoods
A simple but effective solution is using a shield or hood. These accessories block stray artificial light from reaching the sensor. Shields are especially useful in urban areas where artificial light pollution is unavoidable.
4. Correct Tilt and Orientation
Installers should always angle the sensor slightly downward and away from its controlled light source. This minimizes the risk of feedback loops and improves accuracy.
5. Regular Testing After Installation
Once sensors are placed, they should be tested under different conditions, daylight, dusk, and full darkness, to confirm proper switching. Regular testing make sure of continued reliability.
By combining these practices, installers achieve ideal LED sensor positioning, leading to efficient, accurate, and trouble-free lighting systems.
Case Example: Parking Lot Lighting Layout
To better understand how proper placement works in practice, let’s look at a common scenario: a commercial parking lot, here’s how correct placement principles are applied:
- Sensor Height: Photocell sensors are at the top of lighting poles, making sure of a wide field of vision
- Orientation: Sensors are tilted away from the light fixtures they control and positioned towards the open sky
- Avoiding Interference: Placement makes sure that sensors do not face building-mounted lights or reflective surfaces
- Uniform Distribution: Sensors are evenly spaced across the parking lot to eliminate inconsistent switching
- Lux Calibration: Combined with proper placement, lux thresholds are preset to make sure that lights activate at the right surrounding brightness.
This thoughtful combination of LED sensor positioning and lux calibration minimizes customer complaints about lighting gaps and avoids flickering lights, ensuring safety while optimizing energy efficiency.

The Role of Lead-Top in Optimized Installations
For large-scale projects such as city-wide lighting systems, correct placement and calibration across hundreds of fixtures can be challenging. This is where expert solutions make a difference.
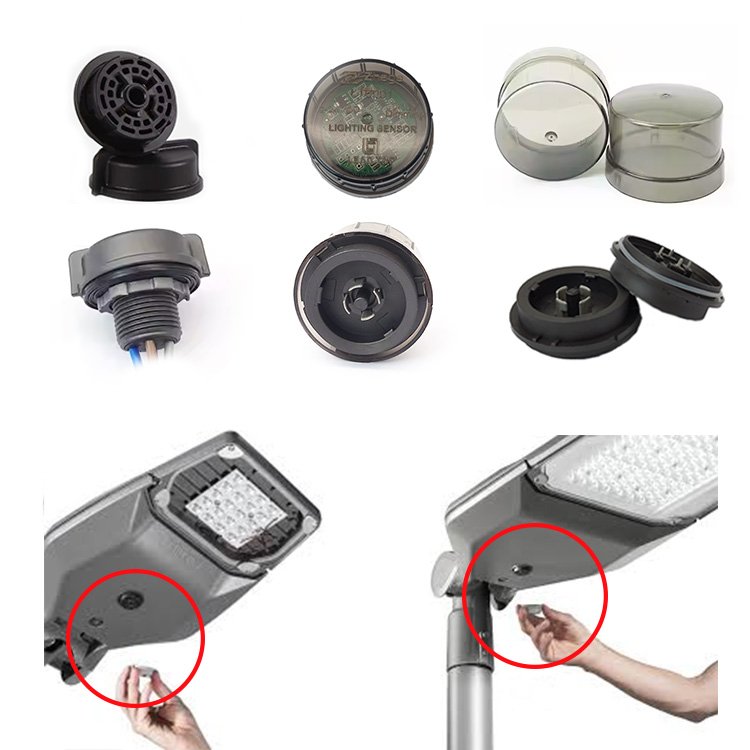
Lead-Top offers pre-engineered photocell sensors that are not only pre-wired but also designed for easy calibration and flexible orientation. By supporting city-wide lux presetting and standardized placement guidelines, Lead-Top ensures that every sensor operates consistently, no matter where it is installed. This approach minimizes troubleshooting, reduces energy waste, and delivers dependable performance across the board.
References:


